What is different about a photoshop file from a gif or jpg file used in a website?
One of the main differences is that a photoshop file has layers that you can turn on and off.
When I construct a photshop image, I generally arrange it with each important element on a different layer. This lets me move around the different pieces without them bumping into each other, and it allows me to turn various elements on and off.
A normal photograph or image starts with just a single layer. You can add layers as you draw things onto the image.
The layers panel is usually located somewhere on the lower left side of the screen, but like other parts of Photoshop you can move it around. If you don't see the layer panel, go into the "windows" menu and turn it on.
Open up photoshop an start a new image (file->new). Set the size to 600x600 pixels (not inches).
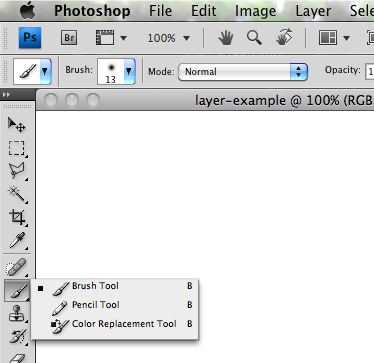
Go to the tool menu and select the brush tool.
Note that bush, pencil and color replacement all can occupy the same spot on the tools panel. Make sure you get brush.
Now set the brush you want. In the image above, click on "brush" and choose some reasonable value. I've got a 13 pixel soft edged brush.
Next we will set the color. Locate the color swatch near the bottom of the tool panel. There are two parts, foreground color (upper box) and background color (lower box). We're going to set the foreground color to red. The background color is white. Fine.
Now draw a tic tac toe board (#) on our new image. It should look like this:
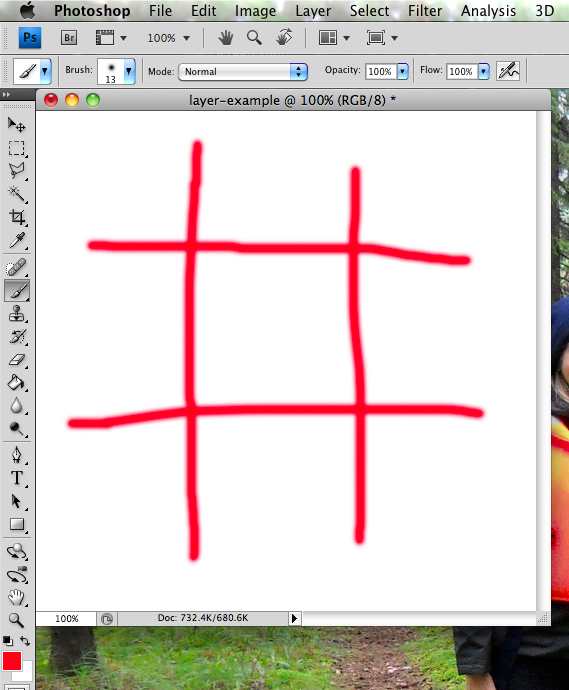
We have drawn our red tic tac toe board on the base layer. Let's add a new layer.
Locate the layers panel and at the upper right side of that panel find the button that brings up the layers menu.
Here's the layer panel right now, with just my one layer.
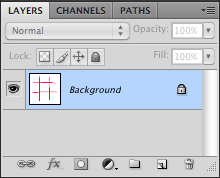
The eyeball icon allows you to turn the layer on and off (see image).
Background is the name of the layer.
On the right side, a little image of a padlock shows that the layer is locked.
Look in the upper right corner for the button that looks like this:
![]()
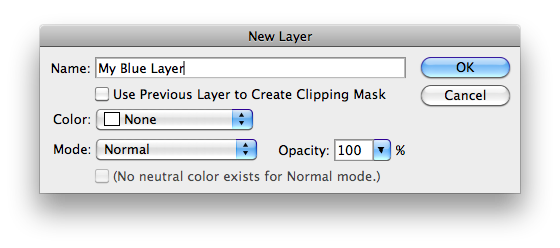
This brings up the layer menu. Select "New Layer".
The new layer panel will come up. We will name this layer "My Blue Layer" and then click OK.
Now let's look at the layer panel. We will see a new layer.
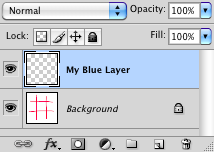
The eyeball icon means this new layer is on.
The light blue hilighting means that this is the active layer. Any editing or drawing that is done at this point will go onto or affect the new layer.
The miniature "postage stamp" version of the layer we see here looks like a checkerboard. This means that the layer is transparent.
Let's draw a big blue circle on the new layer.
Repeat the same procedure as we did earlier to get the brush ready. Select the brush tool, set the size to something larger than 13, and set the color to blue. We are ready to draw.
So, draw a big circle.
Here's what we see. I've brought the layer panel into view so you can compare the postage stamp images on the layer list, to the image itself. We see the new layer with a blue circle and a checkerboard (transparent) background.
Repeat the above procedures to create a new layer called "My Green Layer" and draw a big green "X" on that layer. Now your image should look like this.
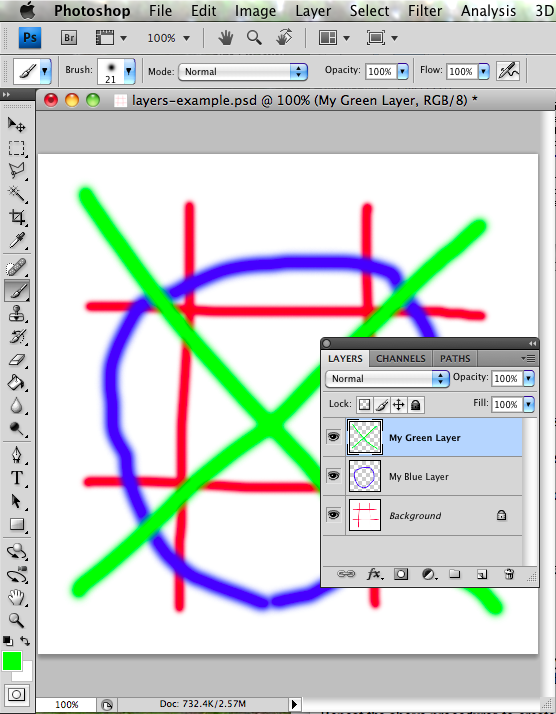
We have built our sample picture with some layers on it.
Try the following activities to see how the layers work.
Click the eyeball icons to turn layers on and off.
Double click any layer to access the options such as the name or shadowing features of that layer.
Select a layer and then choose the "move" tool from the tool palette to move that layer up down right or left.
Select a layer to draw on that layer. For example, after adding our third layer, we can go back and draw more on the second layer.
Note that you have to "Save for web" if you want to use an image like this, because PSD images can't be displayed in web pages.