Before you do this I recommend that you have a look at http://www.w3schools.com and go through the sections on HTML and CSS. After you have done this the whole discussion of how Dreamweaver handles CSS will make a lot more sense.
In this chapter we will start a new site using the "advanced" options of the new site window. We won't set much. Follow the instructions on pages 61-62. I made a copy of the lesson3 folder from the CD and I'm using this as a skeleton for my new site.
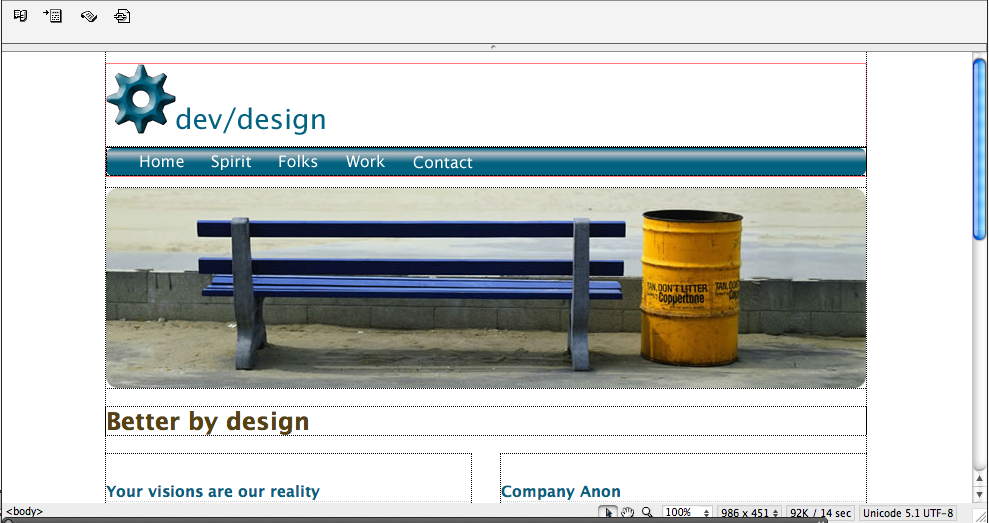
We will work with the file home.htm. If you have correctly started the site and copied the files you should see a file list as shown here:
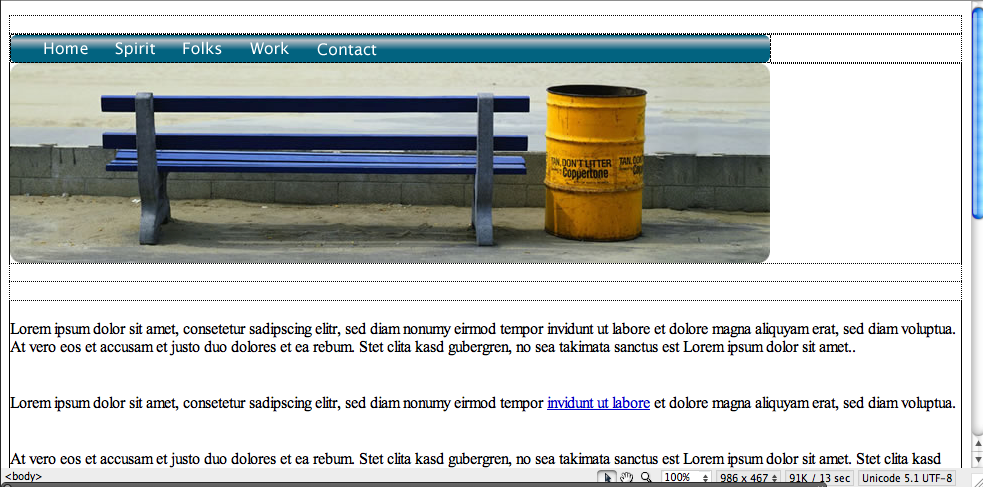
Double click home.html it to bring it up to edit.
The page should come up and look something like this:
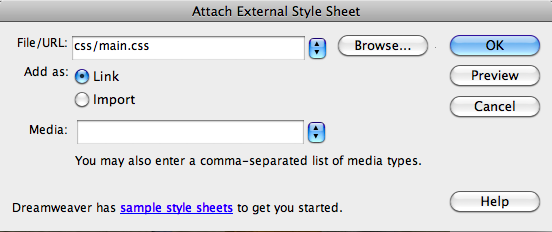
Now we attach a stylesheet: Window > CSS Styles, select "Attach Style Sheet", which is an icon that looks like a piece of chain:
![]()
You may have to look around to find it. Make sure the CSS Styles Panel is open. Go back to the Window menu and try again if not.
Select the correct style sheet. Note that this is found in the lesson3 folder under css. If you have correctly copies the lesson files this should be easy to find.
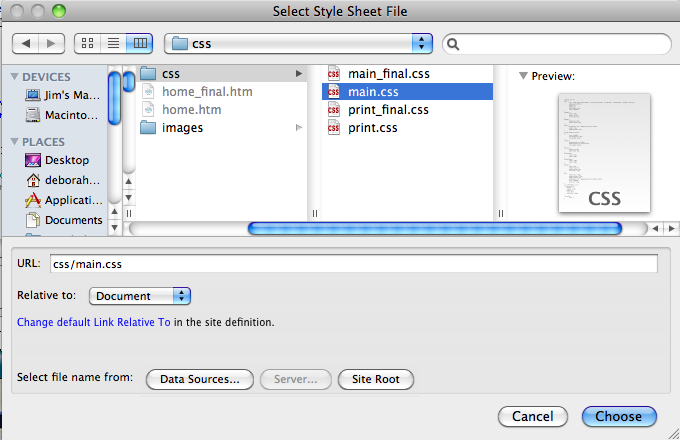
Confirm that you have selected the right file
When you click "OK" you will see a dramatic change to the look of the page.
Everything is formatted and cleaned up. Nice!
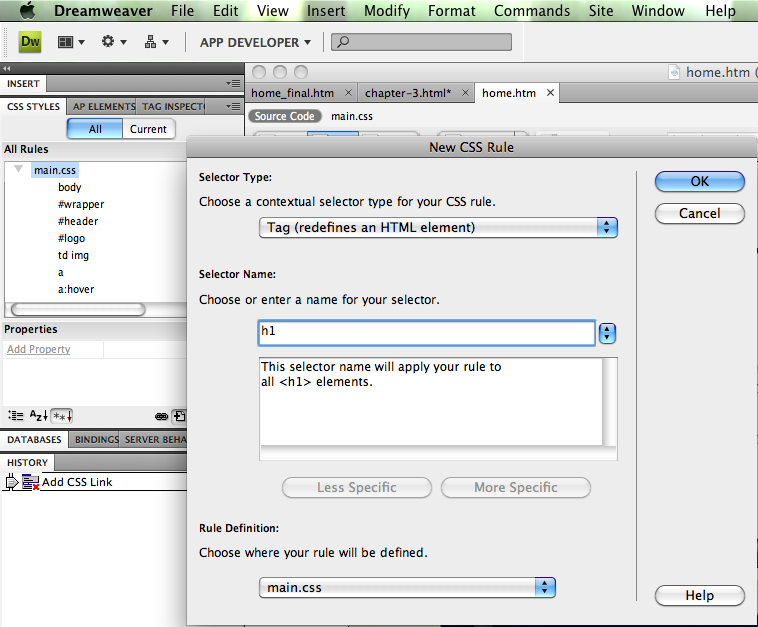
You can create new CSS rules. The stylesheet contains many rules already, but at this point we don't care much about the details, we just want to make sure our new rule will be added. From the menu select:
Format > CSS Styles > New
Or use the little icon that looks like a page with a "+" on the left side, at the bottom of the CSS Styles panel. Use either method, they do the same thing.
Let's redesign the "H1" format. Set the options below in the "New CSS Rule" window: select "tag" in the first window and "H1" in the second. Click "ok".
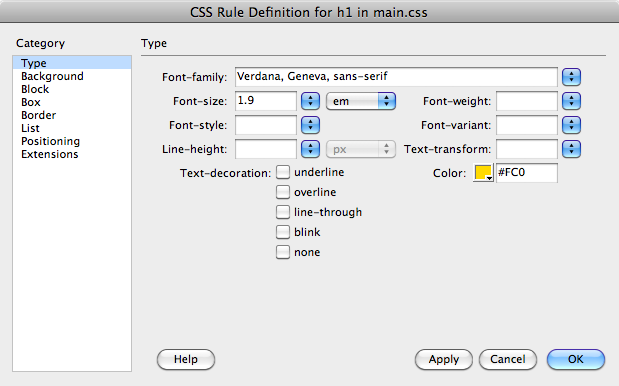
Now select "type" in the "Category" and set the options as follows: Verdana, Fontsize = 1.9, Units = "em."
Don't click "ok".
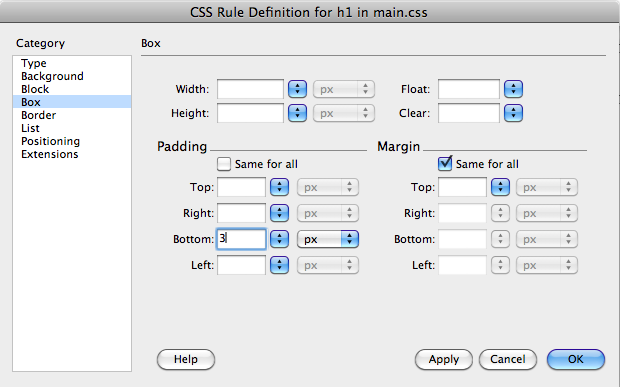
Now select "Box" fo the category and set these options.
In the "Border" category set as follows:
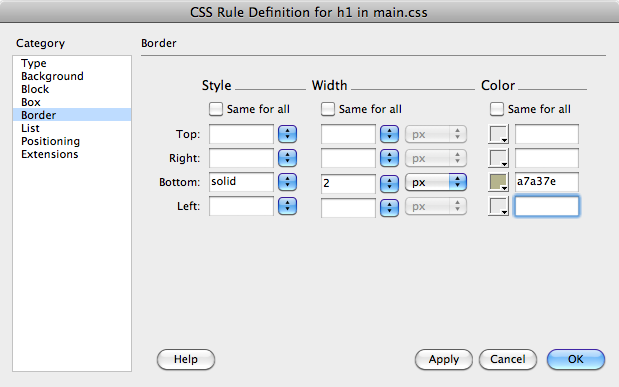
Now click OK.
The rule is created. Nest we want to move this rule up in the list as follows:
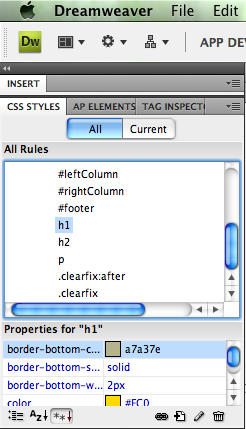
If you have trouble, make sure you have the right windows open and make sure "All" rules are displayed. Keep looking until you find "H1" and then drag it above "H2". Your result should look like the window above.
Aside from modifying existing tags, you can also create classes.
Classes are described on the W3 schools website. Basically they are modifiers for existing tags. A class isn't specific to one tag. This may seem confusing but go with us on this one, and try this example.
Start a new CSS rule as described above. In the "New CSS Rule" window set the following:
selector type=class
name=.more
define in=main.css
Then go to the CSS definitions. In Category="Block" set Text Align="center". Save the rule. If you have done it correctly this new entry should appear in the list of CSS rules:

In general you select the item you want to modify, select the tags around it, and then select the style. Here's an example.
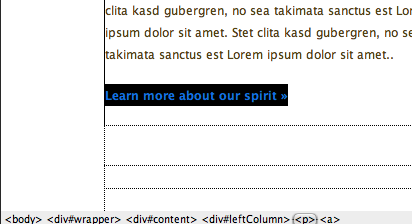
Referring to home.htm in the design window, click somewhere on the phrase "learn more about our spirit". In the tag selector select <p>. (The tag selector is at the bottom of the design window.) Your screen should look something like this. Note the <p> and note what is hilighted.
Now choose the rule from the menu.

Here's the result:
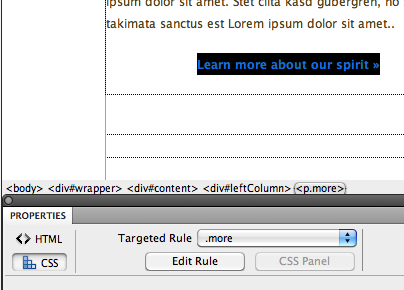
Note that the text has moved to the right (centered).
Comment: I think it is a little confusing that the rule is called ".more". I think it is a good practice to call your style rules with names that are descriptive. In this case I would have used a name like ".centerme". That way when you look at the list of rules in your CSS file it becomes clear what they are for.